The Secrets Behind Perfectly Baked Bread
- bobylon8
- Apr 29, 2025
- 3 min read
Baking bread is both an art and a science. The smell of fresh bread wafting through the kitchen can evoke happy memories, and the taste can be heaven in every bite. However, making perfectly baked bread consistently can be challenging. In this blog post, we will explore the secrets behind perfect bread, from selecting ingredients to the baking process.
Perfect Bread: The Foundation of Ingredients
The journey to perfect bread starts with choosing the right ingredients. Flour is the star player in the bread-making process. The type of flour you select affects the texture and flavor of your bread. For instance, bread flour has higher protein content compared to all-purpose flour, which creates more gluten. Gluten provides the structure your bread needs to rise and maintain its shape.
Yeast is another essential ingredient, responsible for fermentation. When yeast consumes sugar, it produces carbon dioxide gas, causing the dough to rise. There are different types of yeast available, including instant yeast and active dry yeast. Instant yeast can be mixed directly with dry ingredients, while active dry yeast requires activation in warm water first.
Water plays a crucial role as well. Its temperature can significantly affect the yeast's activation. Water that is too hot can kill the yeast, while water that is too cold can slow down the fermentation process. A temperature range of 100°F to 110°F (37°C to 43°C) is optimal for activating yeast.

The Right Technique for Perfect Bread
Once you have your ingredients lined up, knowing the right technique is vital for success. Kneading the dough is one of the most important steps, as it develops gluten, giving your bread the desired structure. Knead your dough for about 10 minutes. You can perform the "windowpane test" to check if your dough is well-kneaded. Take a small piece of dough and stretch it; if it forms a thin membrane without tearing, it is ready.
Shaping the dough properly can also affect the final loaf. After the first rise, deflate the dough gently to remove excess gas. Shape your loaf by tucking the edges into the center, creating surface tension. This tension helps the bread maintain its shape while it rises.
Moreover, the rising (or proofing) stage is critical. During proofing, the dough should be kept in a warm, draft-free area. The dough needs time to rise—usually around 1-2 hours—until it doubles in size.

The Role of Baking in Perfect Bread
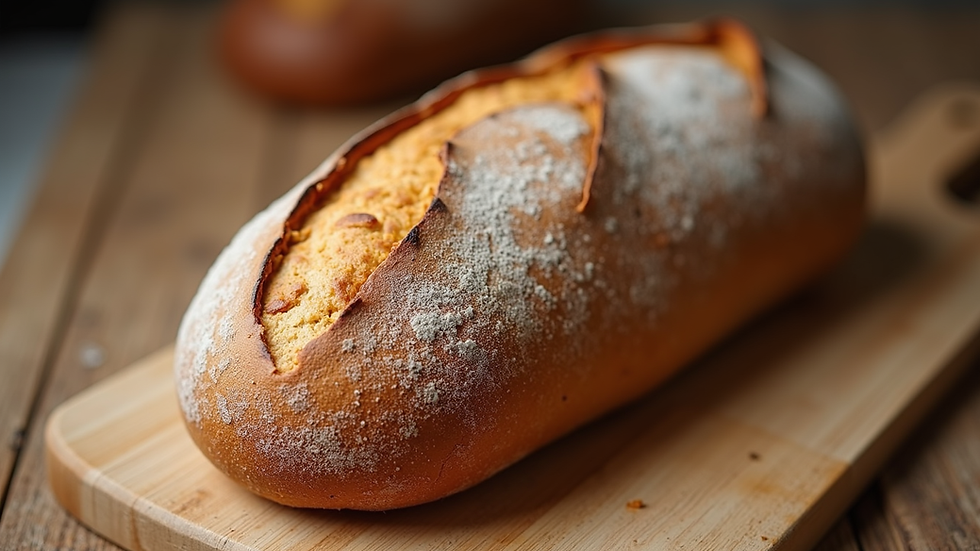
Baking is where all the magic happens. The oven provides the heat needed for the final rise and the Maillard reaction, which creates that beautiful golden crust. Preheating your oven is essential; most recipes recommend a temperature between 375°F to 475°F (190°C to 245°C) for bread baking.
Using a baking stone can enhance your baking experience. A hot stone helps maintain consistent temperature, creating that perfect crust. Additionally, steaming your oven can create a nice crust by providing moisture during the initial baking stages. You can achieve this by placing a pan of hot water in the oven or by spritzing water inside during the first few minutes of baking.
Also, ensuring proper oven temperatures involves using an oven thermometer, as most home ovens can be inaccurate. It's beneficial to check the temperature to avoid undercooking or overcooking your bread.
Common Mistakes to Avoid for Perfect Bread
Despite following the best practices, even seasoned bakers can make mistakes. Here are a few common pitfalls to avoid:
Using outdated ingredients: Yeast can lose potency over time. Always check the expiration date to ensure that your yeast is active.
Not measuring ingredients accurately: Baking is a precise science. Use a kitchen scale to weigh your ingredients whenever possible.
Ignoring temperature: Make sure your water is at the right temperature for activating yeast. Too hot or too cold can affect how your dough rises.
Not allowing your dough to rise enough: Patience is key. A rushed rise can result in dense bread.
Cutting into the bread too soon: Once out of the oven, allow your bread to cool on a wire rack. Cutting it while hot can lead to a gummy texture.
By recognizing and avoiding these common mistakes, you set yourself up for success in achieving that perfect homemade loaf.

Enjoying the Fruits of Your Labor
After you’ve perfected your bread, it’s time to enjoy it! Fresh, homemade bread can be served in various ways. Whether spread with butter, used for sandwiches, or paired with soup, the possibilities are endless.
If you're looking for inspiration or additional tips, consider exploring resources from the house of the rising bun. They offer a wealth of information and community support for bakers of all levels.
Bread-making is a fulfilling process that rewards patience and practice. With careful attention to ingredients, techniques, and common mistakes, anyone can achieve that elusive perfect loaf. Happy baking!


Perfectly baked bread is all about fresh ingredients, proper techniques, and attention to detail—just like the dough used in Pizza Vans and food truck catering. Platforms like pizzavans.co.uk make it easy to find local vendors, while a pizza catering van brings freshly prepared, high-quality bread-based dishes straight to events, parties, or gatherings. Using freshly baked dough ensures that pizzas, sandwiches, and other treats are flavorful, soft inside, and crisp outside. A food truck catering service focused on quality ingredients and artisanal preparation can deliver a memorable culinary experience. By choosing mobile catering that prioritizes freshly baked bread, hosts can guarantee guests enjoy food that tastes homemade, fresh, and irresistible every time.